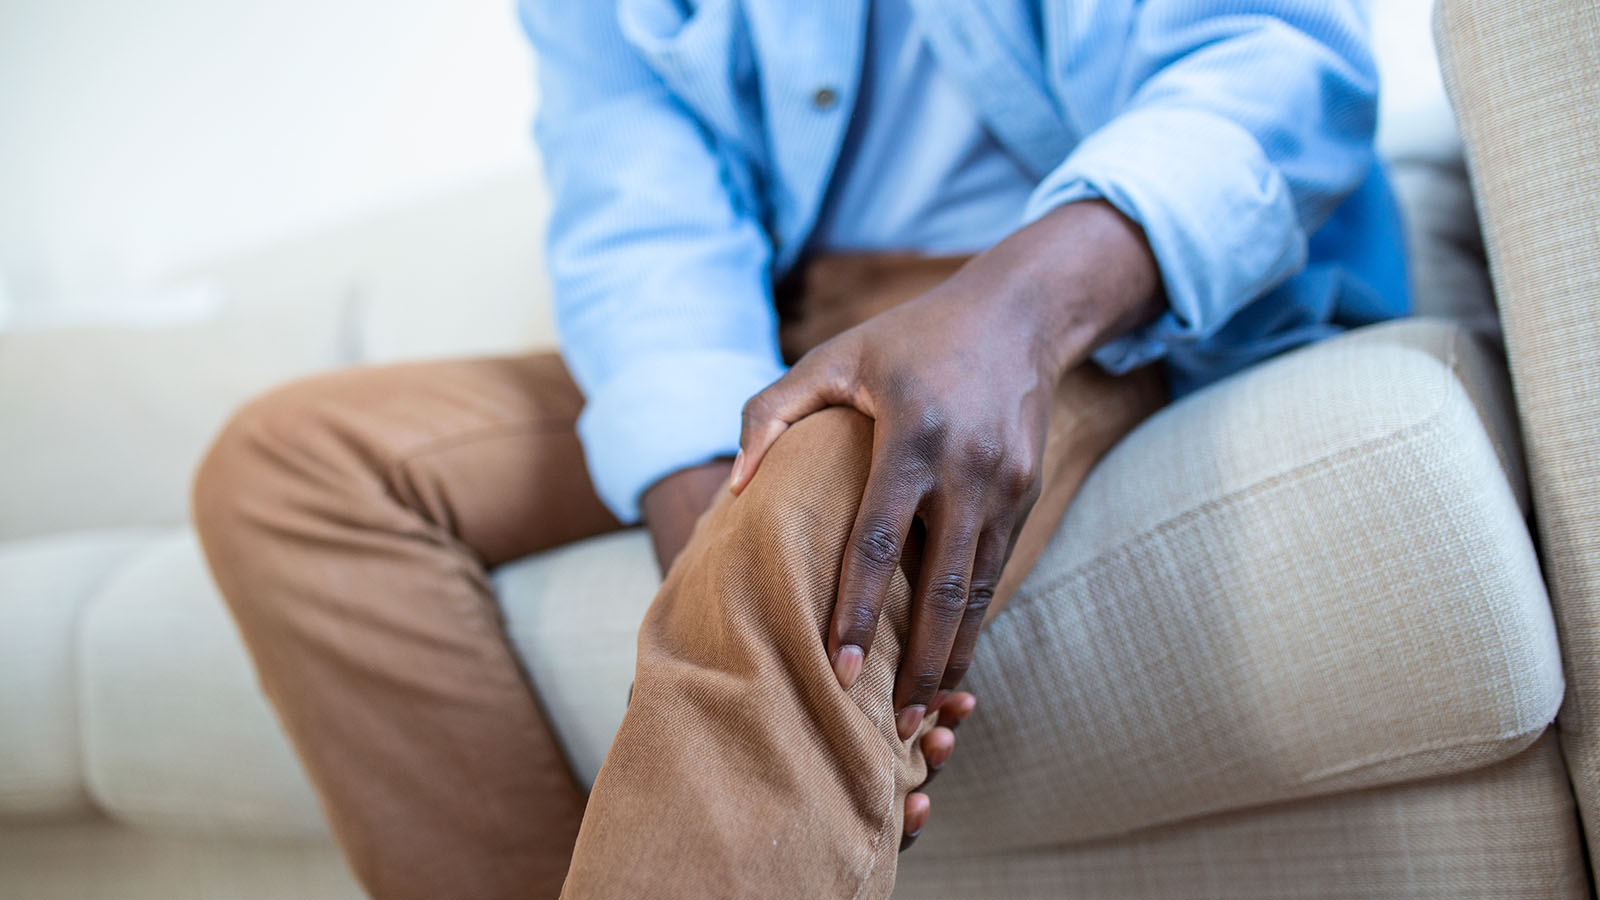
Knee Replacement Rehab: 7 Exercises to Restore Your Strength and Range of Motion
Discover how early, consistent physical therapy and specific exercises can accelerate your recovery after a minimally invasive knee replacement.
By Mark Zamerowski, PT, MPT, Physical Therapist, Virtua Physical Therapy & Rehabilitation
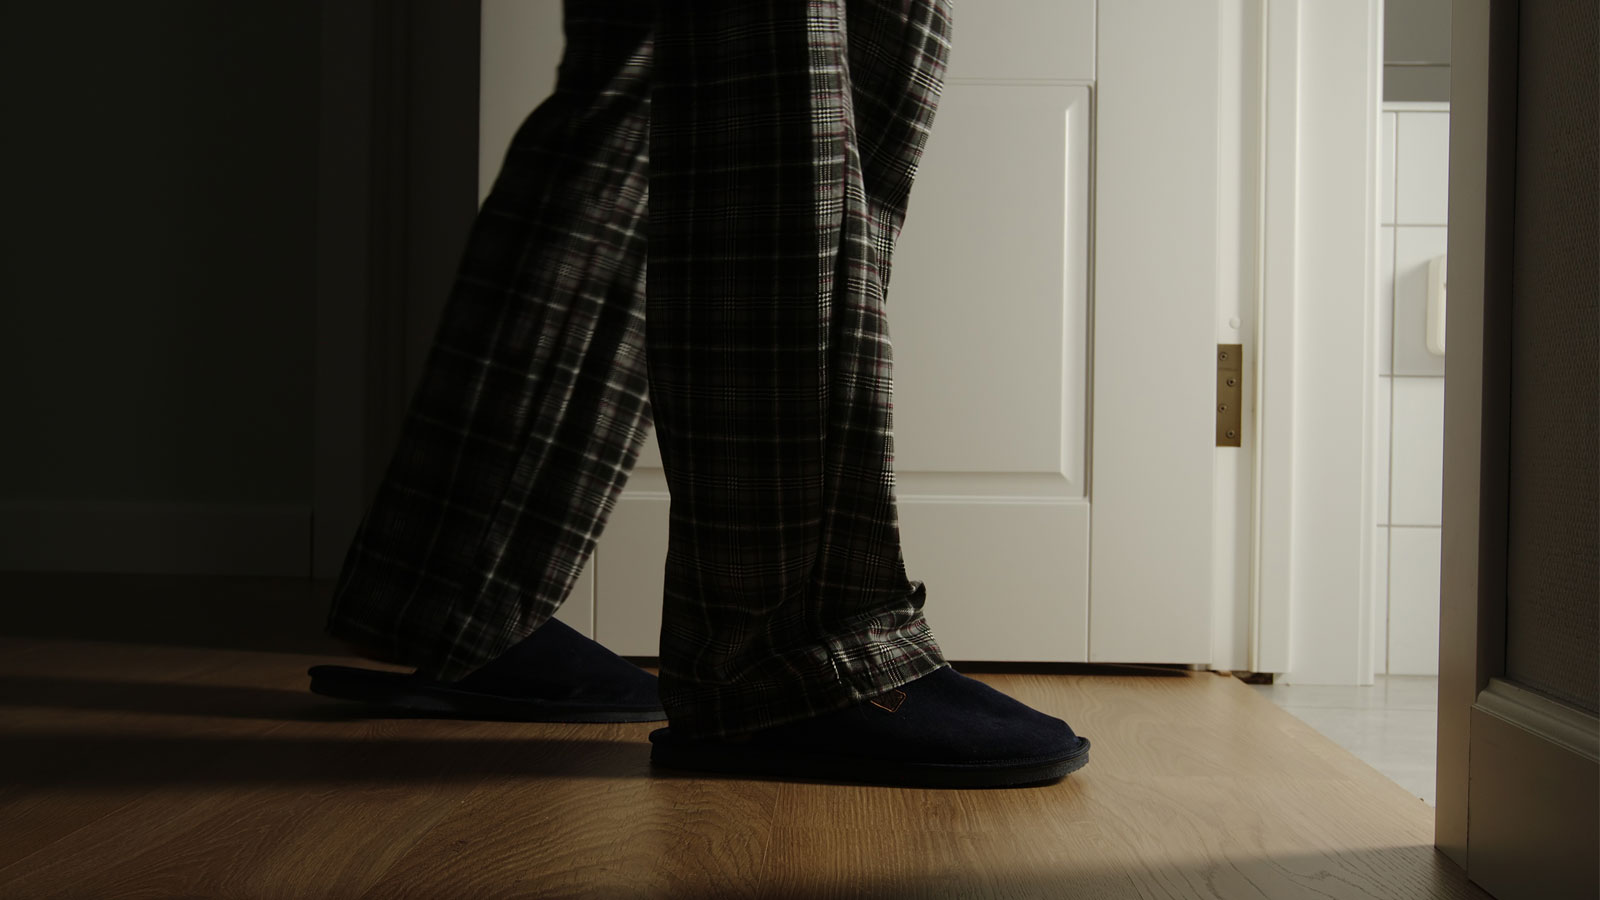
With today’s advanced, minimally invasive knee replacement techniques at Virtua Reconstructive Orthopedics, you can expect to be up and walking before you leave the hospital.
Once you’re discharged, you’ll start your Virtua physical therapy (PT) program within the first few days. Your physical therapist will guide you through the right exercises—beginning gently and gradually increasing in intensity—to accelerate your recovery and help you regain your mobility.
Focusing on these factors can contribute to your long-term success:
- Get started early. Don’t fear post-surgical pain and discomfort. Embrace it, knowing the rewards will be worth it. Virtua physical therapists are skilled at suggesting or adjusting exercises so you feel comfortable with them. The sooner you begin, the better your chances of a successful recovery.
- Follow the directions. It’s easy to focus and work hard during a session, but you’ll also receive "homework" to perform some of the same exercises at home or the gym. It’s essential to follow your doctor’s and physical therapist’s instructions for the best results.
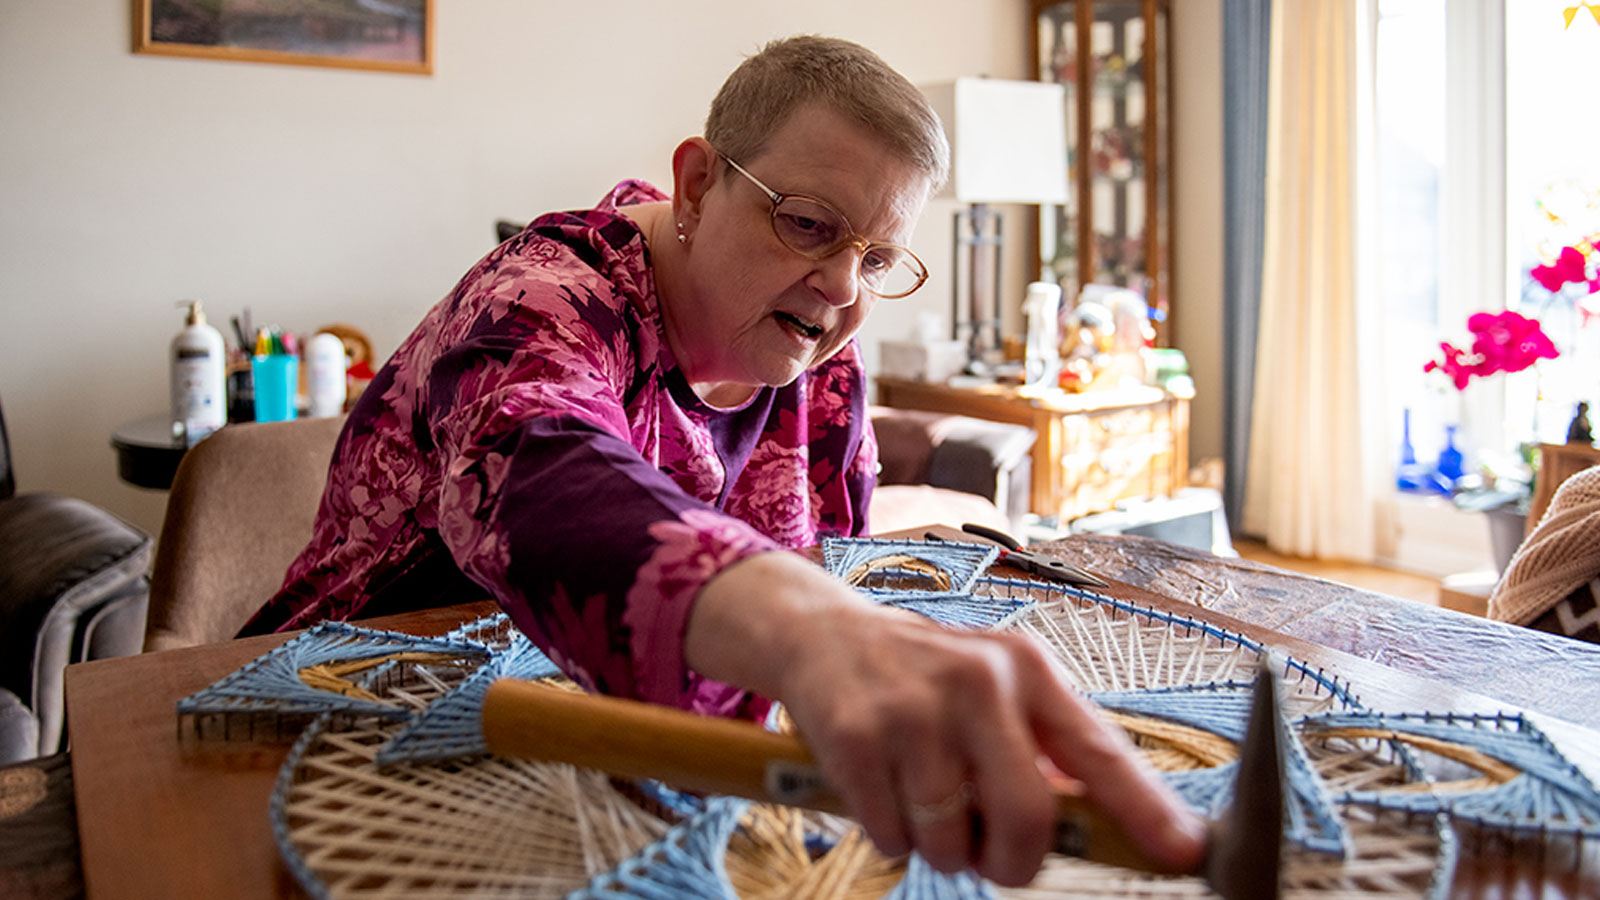
- Focus on the outcome. It takes three months for the tissue to heal, and within a year, you can eliminate the daily pain and discomfort that led you to choose knee replacement. However, you'll find the greatest success if you work hard and commit to doing these exercises consistently.
Top exercises to help you regain strength and mobility after knee replacement surgery
These exercises can help restore function and range of motion, making everyday tasks easier. NOTE: Your Virtua PT program will be personalized based on your Virtua Reconstructive Orthopedics surgeon's advice and the surgical technique used for your knee replacement.
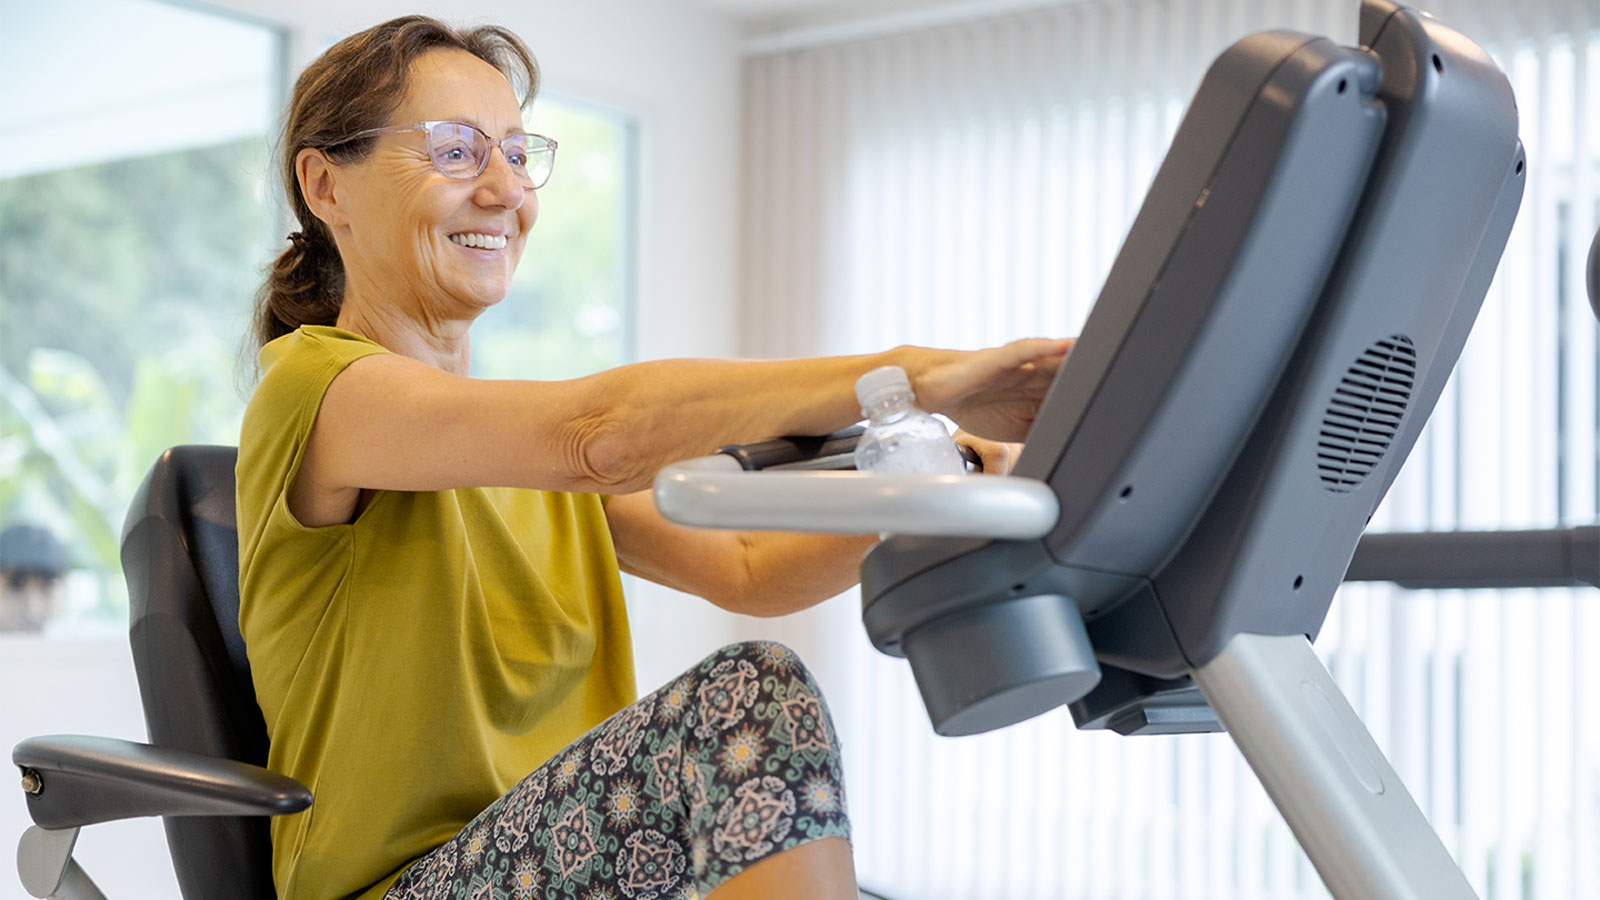
Stationary bike (ride or stretch)
- Type of bike: A recumbent stationary bike (with a backrest) is generally preferred.
- Seat adjustment: Adjust the seat so your knee is just slightly bent when the pedal is pushed to its farthest point.
- Initial stretching (if unable to pedal fully):
- Push your leg forward as far as you can and hold the stretch for 10-15 seconds.
- Reverse and bring your leg backward and hold the stretch for 10-15 seconds.
- Goal: Progress to riding with a full range of motion for 30 minutes every day.
- Access: If you do not have a bike at home, consider joining a gym.
Step flexion stretches
- Starting position: Stand in front of a step, holding a wall or railing for balance.
- Movement: Place your surgical leg onto the step, keeping your foot flat. Let the knee of your surgical leg bend as you lean forward into the stretch.
- Repeat: Hold the stretch for 30-40 seconds, repeating 3-4 times. Perform these stretches 1-2 times a day or as recommended by your therapist/physician.
Assisted heel slides
- Starting position: Lie on your back on a bed (even if soft). Bend your non-surgical knee for comfort. To warm up, slowly slide your surgical heel toward your bottom, hold for a few seconds, then straighten your leg. Repeat 5 times.
- Movement:
- Secure a dog leash, bath towel, stretching strap, or a pillowcase (with your foot inside) around the foot of your surgical leg.
- Slide your heel toward your bottom as far as you comfortably can.
- Once you can't go further, use one of the items above to gently pull your foot closer to your bottom to achieve an extra range of motion.
- Repeat: Repeat this slide and pull 10 times, holding the final stretch for 10 seconds each time. Perform this exercise as frequently as every hour or as recommended by your physical therapist/physician.
Step ups
- Choose a step height (e.g., 4, 8, or 10-12 inches) with your physical therapist.
- Starting position: Step up with your surgical leg first, followed by your nonsurgical leg.
- Movement: Step down with your nonsurgical leg, keeping your surgical leg on the step. Step back up with your nonsurgical leg.
- Repeat: Repeat this sequence for two sets of 10 repetitions, performing the exercise 1-2 times a day or as recommended by your therapist/physician.
This exercise will strengthen your quadriceps (on the front of the thigh) and hip extensor muscles. These muscles support a wide range of everyday activities, including climbing stairs, gardening, and shopping for groceries.
Step downs
- Starting position: Start with both legs on the same step.
- Movement: Keep the surgical leg on the step. Step down and forward with the nonsurgical leg. Step backward up onto the step with the nonsurgical leg.
- Repeat: Aim for two sets of 10 repetitions, performed 1–2 times a day or as recommended by your therapist/physician.
It’s harder on your joints to go downstairs than to climb them, so you don’t want to skip this exercise.
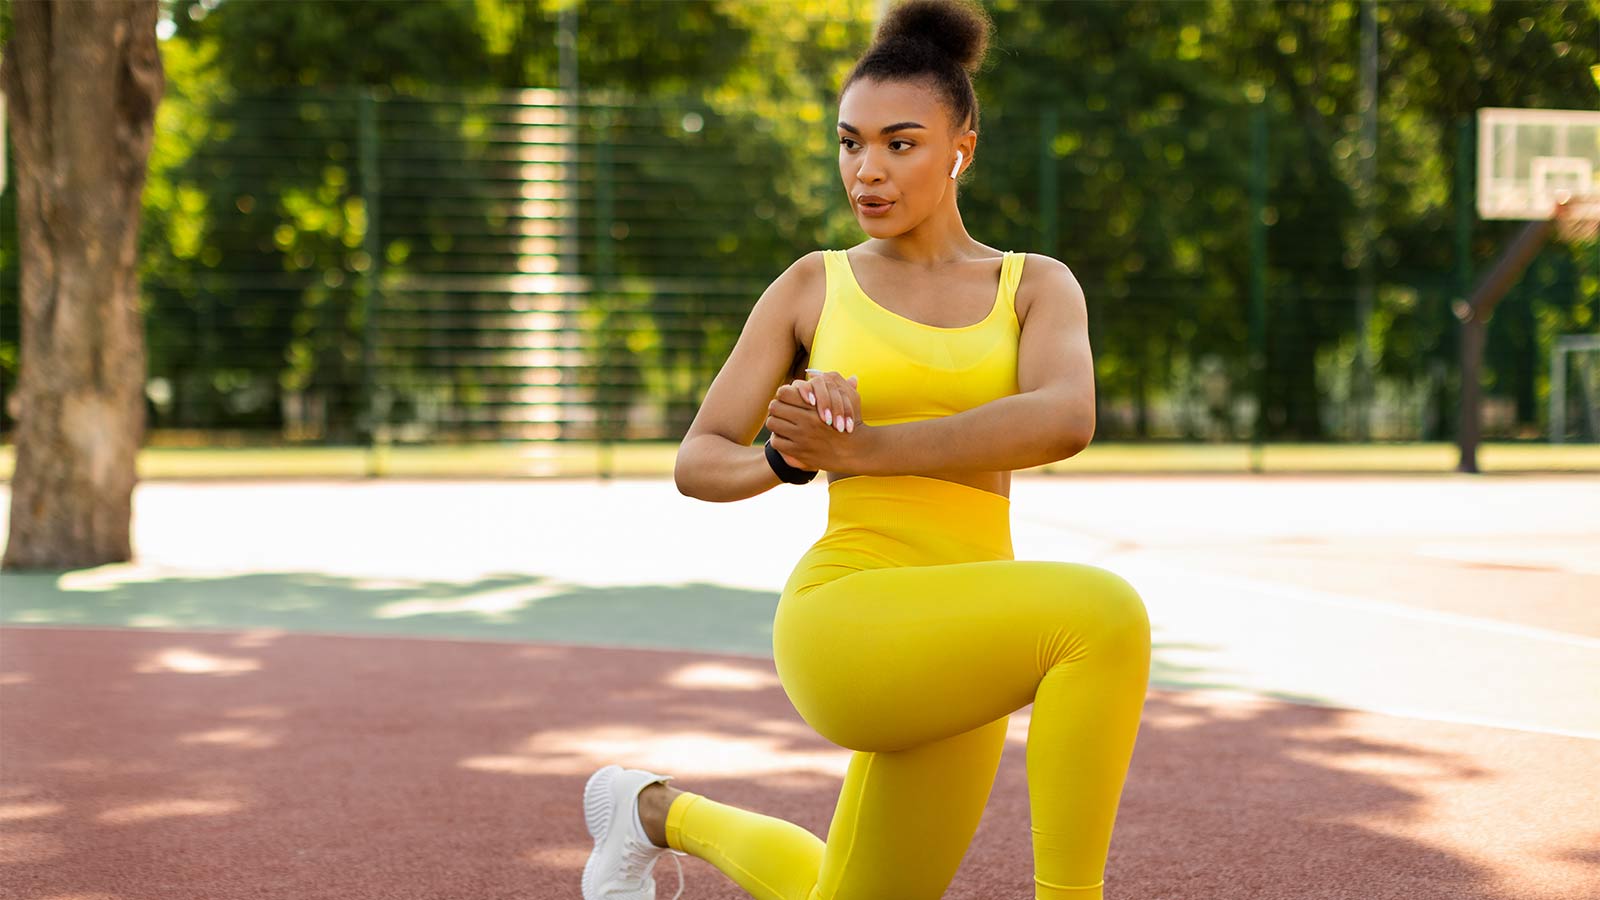
Assisted wall squats
- Starting position: Lean against a wall, and stand with feet shoulder-width apart, 12-18 inches away.
- Movement: Slide straight down the wall and back up, only going as low as is tolerable. Ensure your knees never bend past your ankles. Start with a shallow bend (e.g., 20-30 degrees) and gradually work toward a deeper squat (90 degrees).
- Repeat: Aim for two sets of 10 repetitions, performed multiple times daily or as recommended by your therapist/physician.
- Adjustments: Be mindful of fatigue and adjust the number of reps downward if needed. If you're not fatigued after 20, try increasing to 30 reps.
Squats work muscles that help you perform everyday activities, such as sitting down and rising from a chair or the toilet.
Single leg stance
- Starting position: Find a safe area to hold for support near a wall, sturdy furniture, or a railing. Stand upright.
- Movement: Keep your surgical leg on the ground and raise your non-surgical leg—a slight knee bend/lift is fine. Try to hold the position for 5 to 10 seconds.
- Repeat: Repeat 10 times. As you progress, gradually decrease the firmness of your grip on your support.
- Adjustments: Work toward longer holds (e.g., 5 times for 20 seconds, or 3 times for 30 seconds) in later sessions.
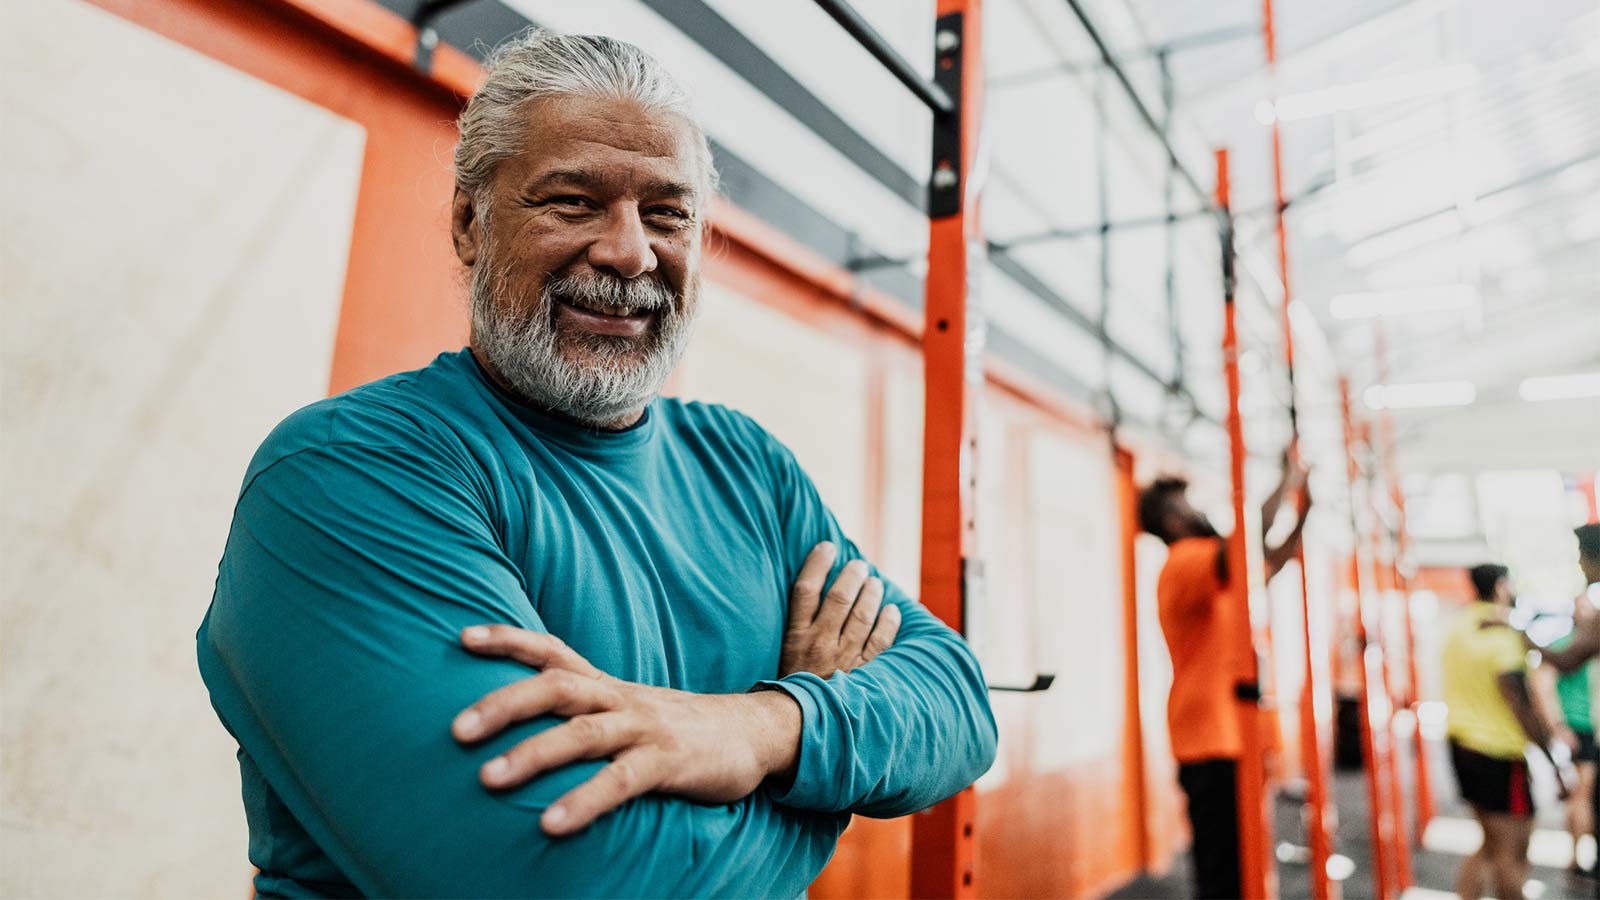
Virtua Physical Therapy and Rehabilitation is here for you after knee replacement surgery
Virtua Physical Therapy and Rehabilitation board-certified physical therapists are here to help ease pain, restore mobility, and empower you to live an active life after knee replacement. We offer convenient locations throughout South Jersey, as well as telehealth visits. Call 888-847-8823 to schedule an evaluation appointment.
There's So Much More to Explore